



 These muffins are so yummy and extra moist thanks to the sour cream! I can get 16-20 muffins per batch and we use them to make English muffin pizzas and enjoy them for breakfast with jam or butter. Many people (including my own mother) say they just cant make bread and I always say start with English muffins-- you cant go wrong and bonus-- no baking! ************************** To begin with-- start your sponge starter. Get one cup of warm water and add 2 tsp of yeast (I don't use the instant kind-- makes things a bit flat, plus if you follow the next step, youre guaranteed a sponge) and 1 tsp-1 tbs of raw honey. Honey is hard to measure so a small dollop is what youre going for. Honey and yeast are bffs in the bread world so lightly and gently stir them together in the water. Walk away and come back in a half hour. Your yeast mixture should be bubbly and doubled in size. If its not, wait another half hour. If it still isn't then maybe your yeast expired or the water was too cold. Once you successfully make your first sponge (and trust me, the honey will help the yeast bubble like crazy) your confidence in bread making will grow and you can move on to more varities.
 In a large mixing bowl mix together with your dough hook 2 cups of wheat flour and 2 cups of bread flour-- trust, me-- bread flour is worth purchasing! Then add your sponge mixture and keep mixing.
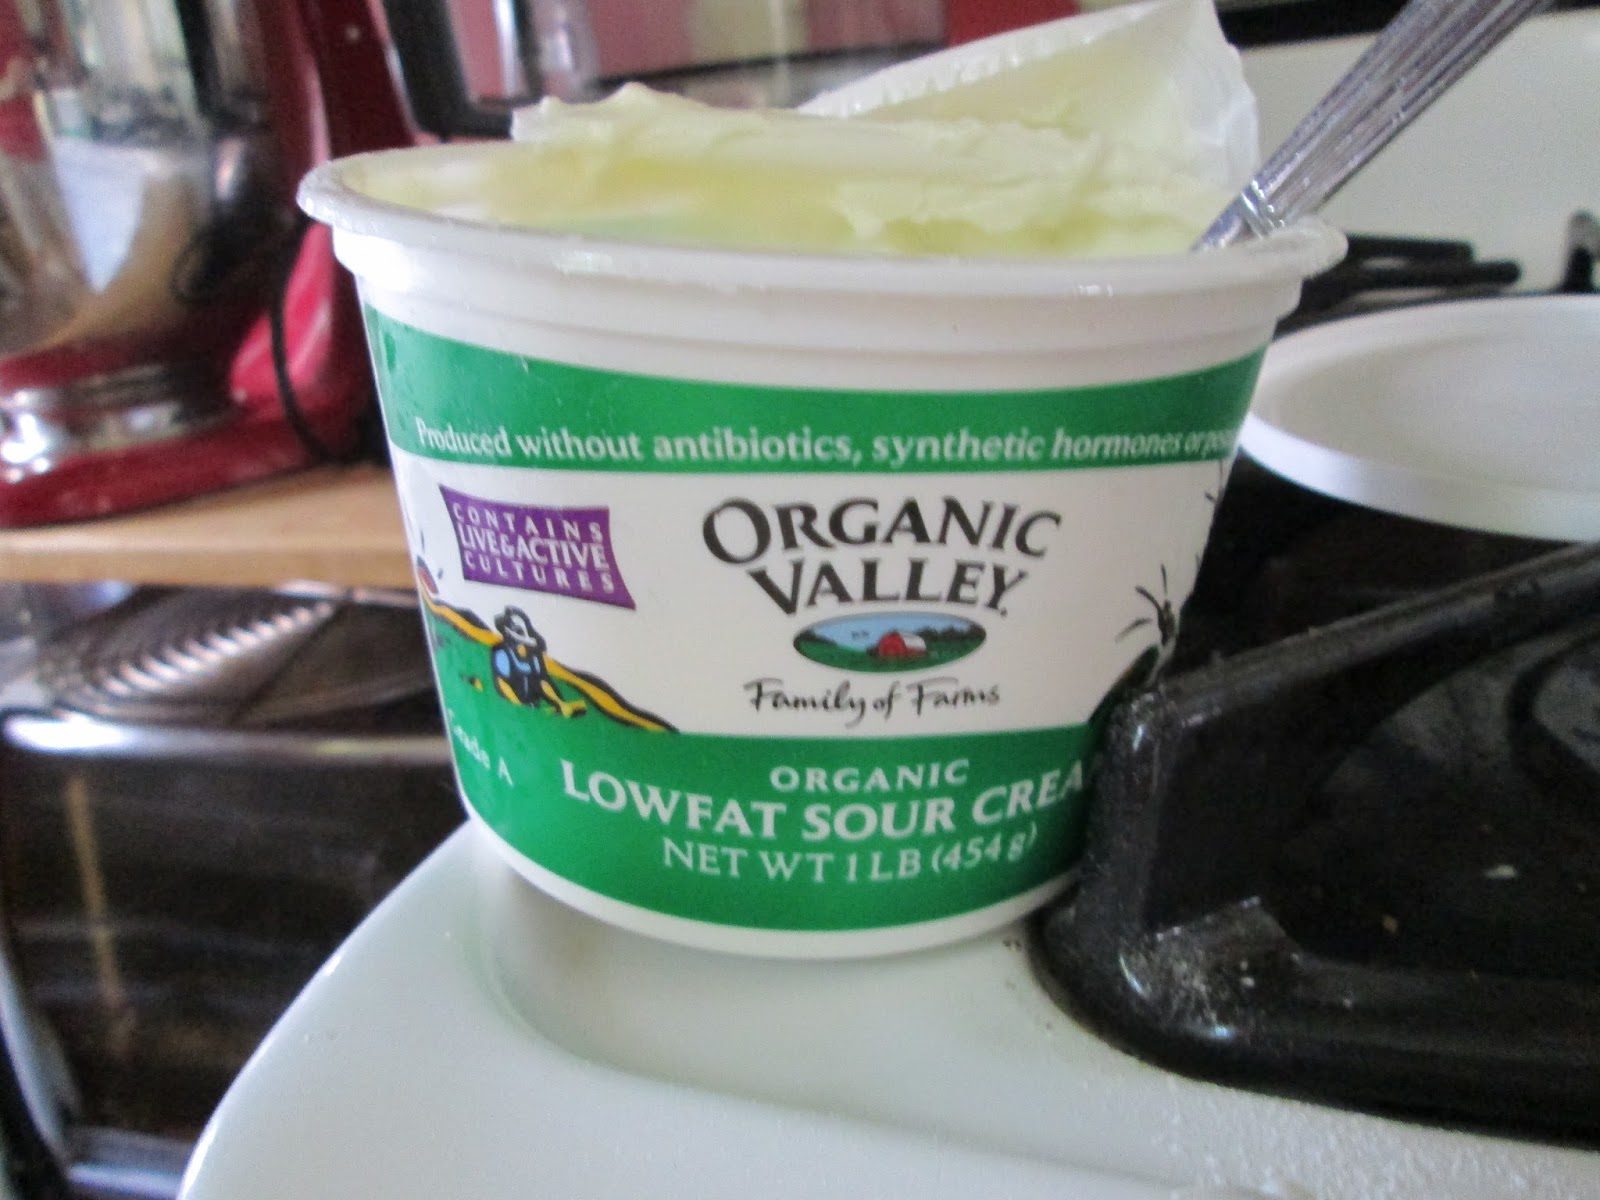
  Then add 1 cup of sour cream. Keep letting it mix away until you have an elasticky dough ball. It shouldn't be too sticky and wet or crumbly-- if it is either then add a tbs at a time of either flour or water. I normally keep a cup of flour on hand in case I need to add more in (hence sometimes getting 16 or 20 muffins). Now, call the kids over and get out these tools:
  A rolling pin, a circle cutter (I have used different sizes so whatever works for you is what works), baking sheet, and corn meal.
 Here is what my dough looks like. Now I flour my work surface and my rolling pin and roll the dough out to about 1/4 in- 1/2 in thick. Honestly, I don't have time to measure and muffin dough can be thick so you got to put your arms into it ;) Now, my three year old is going to cut out the English muffins-- he is so seriously adorable and Im banking on him being a chef one day and saying, "my mother taught me all I knew" or "I grew up cooking at my mothers apron strings"


 Sprinkle some corn meal down on your baking tray (keeps 'em from sticking when they rise and cook and makes them look authentic) and place English muffins on tray. Cover them with a towel and leave them for an hour or two in a warm place (I.e. not by a drafty window or an air conditioning vent). When they have plumped up, its time to cook them up.
  Now butter up a skillet and stick your muffins on there. Just let them get nice and brown on one side and flip them over. Just like making a really thick pancake.
  Then ta-da-- your fresh batch of English muffins. I keep them out for a day and then store them in the fridge afterwards. This is fresh bread without preservatives and so it has a shorter shelf life. We go through this type of batch in 7-10 days. But, warning, one time one lonely muffin got left in the back of the fridge for maybe three weeks and had funkiness growing on it-- just a warning, but its actually a really good thing. You have to wonder about the long shelf life of store muffins and whats in them. These still have your crannies and dips and are so fresh and the every definition of clean eating and yay-- you just made bread!


 This chili was amazingly good-- seriously, my husband declared it the best chili we've ever eaten AND there was no meat in it! I used to use ground boca in my chili, but then I realized that its all soy and had a lot of icky stuff, I decided to swap in quinoa. Its a new family favorite, super easy to cook, and tends to absorb the taste of the spices its in. It is also a wonderful source of protein. For garnish, some organic cheese and chips on the side (and if your my son, heaps of sour cream)
-------------------------------------
You will need: 1 large bell pepper chopped. 1/4 cup of diced onion. 3 tbs of minced garlic. chili seasoning (I had a packet from my sisters shower, but some cumin, chili powder, and red pepper flakes should get the job done). 2 tbs of olive oil. 1 8 oz can of tomato paste. 1 can of diced tomatos with peppers. 1 can of black beans. 1 can of kidney beans. 1 handful of fresh spinach chopped up. 2 cups of water. PLUS, for the quinoa, one cup of quinoa and 2 cups of water.
Saute pepper, onion, and garlic in olive oil. Turn heat down and add tomato products, beans drained and rinsed, spinach, water, and spices. 15 minutes before you are about to eat, cook quinoa. Add water and quinoa into pot. Cook covered for about 8-10 minutes and then uncover and stir frequently the last few minutes. When it looks like little tails have come off the quinoa, its done. Add into chili and stir. Then spoon into bowls, garnish with cheese, and eat with some chips on the side! Enjoy!
This chili was amazingly good-- seriously, my husband declared it the best chili we've ever eaten AND there was no meat in it! I used to use ground boca in my chili, but then I realized that its all soy and had a lot of icky stuff, I decided to swap in quinoa. Its a new family favorite, super easy to cook, and tends to absorb the taste of the spices its in. It is also a wonderful source of protein. For garnish, some organic cheese and chips on the side (and if your my son, heaps of sour cream)
-------------------------------------
You will need: 1 large bell pepper chopped. 1/4 cup of diced onion. 3 tbs of minced garlic. chili seasoning (I had a packet from my sisters shower, but some cumin, chili powder, and red pepper flakes should get the job done). 2 tbs of olive oil. 1 8 oz can of tomato paste. 1 can of diced tomatos with peppers. 1 can of black beans. 1 can of kidney beans. 1 handful of fresh spinach chopped up. 2 cups of water. PLUS, for the quinoa, one cup of quinoa and 2 cups of water.
Saute pepper, onion, and garlic in olive oil. Turn heat down and add tomato products, beans drained and rinsed, spinach, water, and spices. 15 minutes before you are about to eat, cook quinoa. Add water and quinoa into pot. Cook covered for about 8-10 minutes and then uncover and stir frequently the last few minutes. When it looks like little tails have come off the quinoa, its done. Add into chili and stir. Then spoon into bowls, garnish with cheese, and eat with some chips on the side! Enjoy!

 I wanted to begin making our own homemade pasta sauce to go with our homemade pasta, but some of the recipes were pretty overwhelming and seemed like they'd take forever or were meant for canning. And I wanted some sauce now... like right away for dinner. So, I thought I'd see what would happen if I plopped some plum tomatoes and this and that into the food processor and just saw what happened. Well, What happened was Itallian yuminess across the board!
 You will need 5 medium plum tomatoes *** 1/4- 1/2 cup of water *** 2 tbs of olive oil *** handful of fresh spinach *** some itallian seasoning (ach-- i was out of fresh basil, but a tsp of dried was still a culinary delight) *** and optional, a few roasted peppers or if you were roasting it yourself, 1 pepper roasted. Puree or chop all together. And done-- less than 2 minutes to really good homemade pasta sauce.
 I cooked it up and added some parmasean cheese on top and then just placed it on cooked homemade spaghetti-- it was out of this world yummy!!
To see our Roman theme dinner night, go here http://bsharks26.blogspot.com/2013/03/when-in-rome-dinner-theme-night.html and to see how we make our own pasta, check out http://bsharks26.blogspot.com/2013/01/homemade-pasta.html.
I cooked it up and added some parmasean cheese on top and then just placed it on cooked homemade spaghetti-- it was out of this world yummy!!
To see our Roman theme dinner night, go here http://bsharks26.blogspot.com/2013/03/when-in-rome-dinner-theme-night.html and to see how we make our own pasta, check out http://bsharks26.blogspot.com/2013/01/homemade-pasta.html.
