
These muffins are so yummy and extra moist thanks to the sour cream! I can get 16-20 muffins per batch and we use them to make English muffin pizzas and enjoy them for breakfast with jam or butter. Many people (including my own mother) say they just cant make bread and I always say start with English muffins-- you cant go wrong and bonus-- no baking! ************************** To begin with-- start your sponge starter. Get one cup of warm water and add 2 tsp of yeast (I don't use the instant kind-- makes things a bit flat, plus if you follow the next step, youre guaranteed a sponge) and 1 tsp-1 tbs of raw honey. Honey is hard to measure so a small dollop is what youre going for. Honey and yeast are bffs in the bread world so lightly and gently stir them together in the water. Walk away and come back in a half hour. Your yeast mixture should be bubbly and doubled in size. If its not, wait another half hour. If it still isn't then maybe your yeast expired or the water was too cold. Once you successfully make your first sponge (and trust me, the honey will help the yeast bubble like crazy) your confidence in bread making will grow and you can move on to more varities.

In a large mixing bowl mix together with your dough hook 2 cups of wheat flour and 2 cups of bread flour-- trust, me-- bread flour is worth purchasing! Then add your sponge mixture and keep mixing.

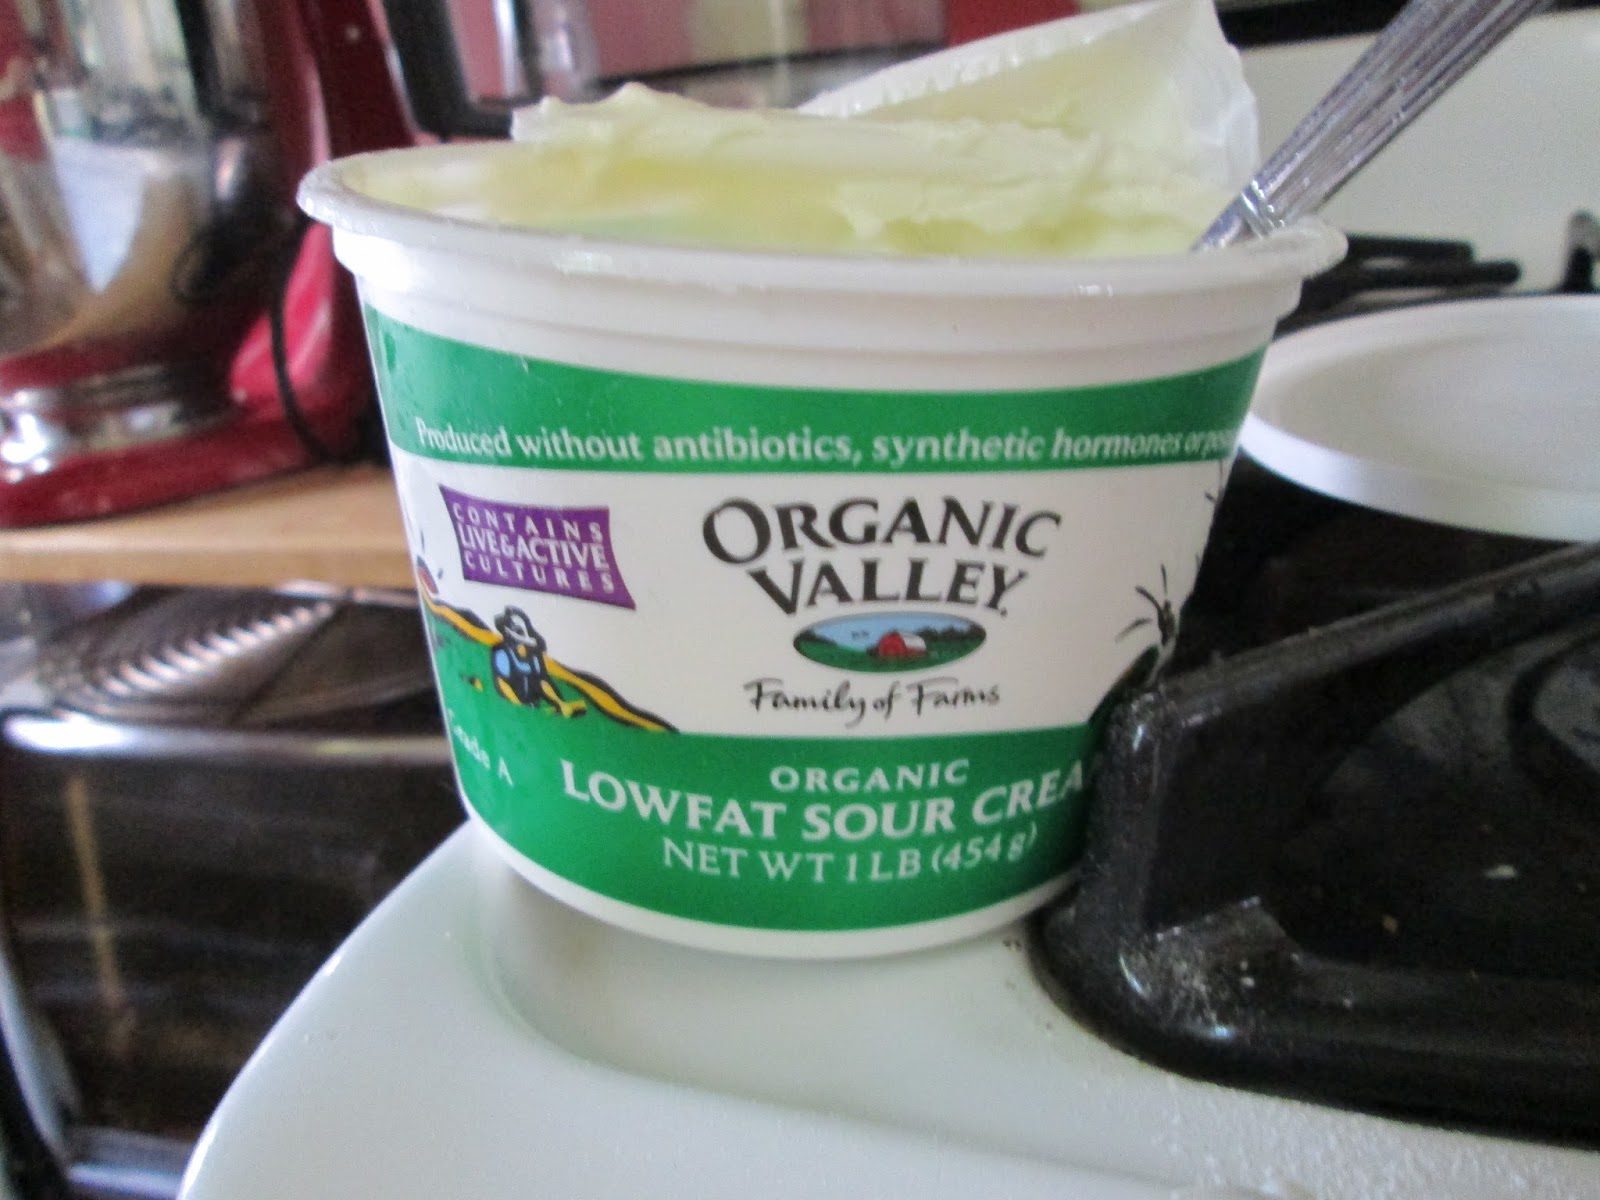
Then add 1 cup of sour cream. Keep letting it mix away until you have an elasticky dough ball. It shouldn't be too sticky and wet or crumbly-- if it is either then add a tbs at a time of either flour or water. I normally keep a cup of flour on hand in case I need to add more in (hence sometimes getting 16 or 20 muffins). Now, call the kids over and get out these tools:

A rolling pin, a circle cutter (I have used different sizes so whatever works for you is what works), baking sheet, and corn meal.

Here is what my dough looks like. Now I flour my work surface and my rolling pin and roll the dough out to about 1/4 in- 1/2 in thick. Honestly, I don't have time to measure and muffin dough can be thick so you got to put your arms into it ;) Now, my three year old is going to cut out the English muffins-- he is so seriously adorable and Im banking on him being a chef one day and saying, "my mother taught me all I knew" or "I grew up cooking at my mothers apron strings"


Sprinkle some corn meal down on your baking tray (keeps 'em from sticking when they rise and cook and makes them look authentic) and place English muffins on tray. Cover them with a towel and leave them for an hour or two in a warm place (I.e. not by a drafty window or an air conditioning vent). When they have plumped up, its time to cook them up.

Now butter up a skillet and stick your muffins on there. Just let them get nice and brown on one side and flip them over. Just like making a really thick pancake.

Then ta-da-- your fresh batch of English muffins. I keep them out for a day and then store them in the fridge afterwards. This is fresh bread without preservatives and so it has a shorter shelf life. We go through this type of batch in 7-10 days. But, warning, one time one lonely muffin got left in the back of the fridge for maybe three weeks and had funkiness growing on it-- just a warning, but its actually a really good thing. You have to wonder about the long shelf life of store muffins and whats in them. These still have your crannies and dips and are so fresh and the every definition of clean eating and yay-- you just made bread!

 These muffins are so yummy and extra moist thanks to the sour cream! I can get 16-20 muffins per batch and we use them to make English muffin pizzas and enjoy them for breakfast with jam or butter. Many people (including my own mother) say they just cant make bread and I always say start with English muffins-- you cant go wrong and bonus-- no baking! ************************** To begin with-- start your sponge starter. Get one cup of warm water and add 2 tsp of yeast (I don't use the instant kind-- makes things a bit flat, plus if you follow the next step, youre guaranteed a sponge) and 1 tsp-1 tbs of raw honey. Honey is hard to measure so a small dollop is what youre going for. Honey and yeast are bffs in the bread world so lightly and gently stir them together in the water. Walk away and come back in a half hour. Your yeast mixture should be bubbly and doubled in size. If its not, wait another half hour. If it still isn't then maybe your yeast expired or the water was too cold. Once you successfully make your first sponge (and trust me, the honey will help the yeast bubble like crazy) your confidence in bread making will grow and you can move on to more varities.
 In a large mixing bowl mix together with your dough hook 2 cups of wheat flour and 2 cups of bread flour-- trust, me-- bread flour is worth purchasing! Then add your sponge mixture and keep mixing.
  Then add 1 cup of sour cream. Keep letting it mix away until you have an elasticky dough ball. It shouldn't be too sticky and wet or crumbly-- if it is either then add a tbs at a time of either flour or water. I normally keep a cup of flour on hand in case I need to add more in (hence sometimes getting 16 or 20 muffins). Now, call the kids over and get out these tools:
  A rolling pin, a circle cutter (I have used different sizes so whatever works for you is what works), baking sheet, and corn meal.
 Here is what my dough looks like. Now I flour my work surface and my rolling pin and roll the dough out to about 1/4 in- 1/2 in thick. Honestly, I don't have time to measure and muffin dough can be thick so you got to put your arms into it ;) Now, my three year old is going to cut out the English muffins-- he is so seriously adorable and Im banking on him being a chef one day and saying, "my mother taught me all I knew" or "I grew up cooking at my mothers apron strings"


 Sprinkle some corn meal down on your baking tray (keeps 'em from sticking when they rise and cook and makes them look authentic) and place English muffins on tray. Cover them with a towel and leave them for an hour or two in a warm place (I.e. not by a drafty window or an air conditioning vent). When they have plumped up, its time to cook them up.
  Now butter up a skillet and stick your muffins on there. Just let them get nice and brown on one side and flip them over. Just like making a really thick pancake.
  Then ta-da-- your fresh batch of English muffins. I keep them out for a day and then store them in the fridge afterwards. This is fresh bread without preservatives and so it has a shorter shelf life. We go through this type of batch in 7-10 days. But, warning, one time one lonely muffin got left in the back of the fridge for maybe three weeks and had funkiness growing on it-- just a warning, but its actually a really good thing. You have to wonder about the long shelf life of store muffins and whats in them. These still have your crannies and dips and are so fresh and the every definition of clean eating and yay-- you just made bread!
No comments:
Post a Comment